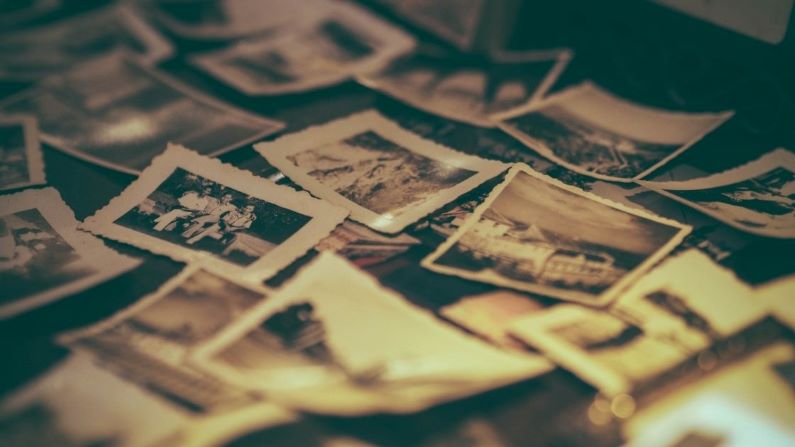
Photo organization can feel like a daunting task! As with any organizing project, the trick is to break the project into bite-sized pieces and tackle it one small step at a time.
The first thing to do is separate the pictures into broad categories.
Get large plastic tubs and label them to temporarily store each category. Labels might include:
- My Life ~ these are your baby, childhood and young adult pictures. If you have remained single all photos of you will go in this tub.
- My Family ~ if you are married and/or have children, this will be photos from the day of your wedding (or birth of first child) through the present.
- My Ancestors ~ all the old family photographs of your parents’ and grandparents’ generations go into this tub.
- Spouse’s Photos ~ if you are married, you’ll have two more tubs; one for pictures of your spouse from birth until your wedding and one for his/her ancestor photos.
Next, remove pictures from frames ~ put the photo in the appropriate tub and donate the frames.
Now, delve into each category one by one in a series of rounds. Start with the category that feels easiest or that you are most interested in. When you finish one category, start Round 1 with the next.
ROUND 1: Sort Photos by Life Phase
Divide the broad category into general timelines. Depending on your particular life situation and which category of photos you are working on, these will be something like:
- Me ~ Birth through High School
- Me ~ Age 18- 30 (and so on by decade through the present)
- Spouse and Me Wedding and Before Kids
- My Kids Birth through High School
- My Kids and Their Spouse/Kids
- My Parents’ Generation
- My Grandparents’ Generation
ROUND 2: Do the Easy Purge
Sort through each timeline created in Round 1, and throw away duplicate, blurry, and faded photos.
Throw away any that trigger unhappy memories or feelings.
If you don’t know the people in a picture and have no way to find out, toss it.
Keep ONE from each year of those annual school photos and toss the rest.
Throw away negatives ~ copies of photos can be made directly from the picture.
ROUND 3: Break Down the Timelines Further
Now you’ll create sub-categories such as:
- Holiday Celebrations
- Vacations
- Pets
- Specific People ~ each of your children or siblings, aunts, uncles and cousins
ROUND 4: Put Photos in Chronological Order
This doesn’t have to be perfect, month-by-month and year-by-year order. But sort each of these sub-categories into loose timeframes.
ROUND 5: Do the Hard Purge
It’s *tough decisions* time! How many pictures from each life phase will you allow yourself? Go through each pile in groups of 5 or 10 and pick the ONE you love the most ~ the ONE that BEST shows the spirit of the moment or the personality of the person in it.
- Two (or more) similar but not identical pictures? Pick your favorite and toss the other(s).
- Vacation pictures ~ keep a couple from each day or big activity and toss the rest. Most scenery photos without people in them should go also.
- Birthday parties with friends and school holiday party pictures ~ keep a group shot, toss those of individual kids.
- Photos of your parents/grandparents with their friends ~ toss, unless a VERY close family friend.
- Family portraits ~ keep ONE from each era.
This will be HARD!!
There is no getting around the fact that if you truly want to downsize your photo collection you will have to throw away pictures you love. You many have to work for awhile and then step away for a day or two, making these decisions in small doses.
Finally, it’s time to digitize, put your keepers in photo boxes or create albums, and enjoy the fruits of your labors!
If you are interested in hiring a fantastic professional to digitize and create amazing photo books for you, contact my colleague Kerri Biancalana through her website, https://enjoyphotoorganizing.com/.

Joanie, I love your succinct and decisive process and agree that breaking down the project first into broad categories and secondly into smaller steps, or rounds of organizing tasks, to be taken within each category is key to overcoming the overwhelm.
Thank you for recommending me for additional photo organizing help. It is an honor to help clients ENJOY their photos and special memories again by getting their collection organized, accessible and sharable. –Kerri Biancalana, Certified Photo Manager, ENJOY Photo Organizing
Kerri ~ Thanks for your comments. I’m so happy you are out there to help people with this task! Everyone I’ve recommended you to is thrilled with your work!